1. Introduction
Installing WordPress on your computer helps you try out WordPress, test themes and plugins, and learn WordPress development. It lets you operate a website within your own computer. The website isn’t visible to other people. So, you can make an experiment with the design components, plugins, settings, etc. there.
However, WordPress is not something that can be installed on your computer on its own. For installing you would need a web server and database. That is where XAMPP comes into the picture.
2. What is XAMPP?
XAMPP is a local server that you can install on your laptop/desktop to mimic an actual web server.
It’s a completely free, open-source Apache server distribution with MariaDB (formerly MySQL), PHP, and Perl. XAMPP is available for all major operating systems and is extremely easy to install and use. Here is what XAMPP stands for:
- X — cross-platform (X), as it supports multiple operating systems
- A — Apache HTTP Server
- M — MariaDB (formerly MySQL)
- P — PHP
- P — PERL
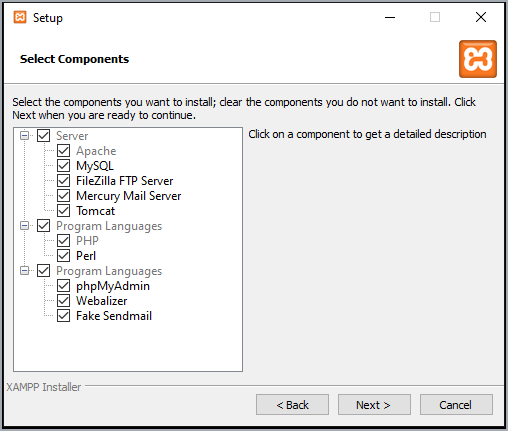
Apart from the core components mentioned above, XAMPP usually comes with other useful tools such as Mercury mail server, phpMyAdmin for database administration, Webalizer for web server log analysis, OpenSSL, Apache Tomcat for running Java code, and FileZilla FTP server.
3. Installing XAMPP on Windows
NOTE : The procedure mentioned in this article would result in latest version of WordPress. If you are looking for installing any older version of WordPress (but not latest) then you should refer to article, Why WordPress Installation Ends Up with latest version
3.1. Download XAMPP installer for windows
Download the latest XAMPP installer for windows from Apache Friends Website


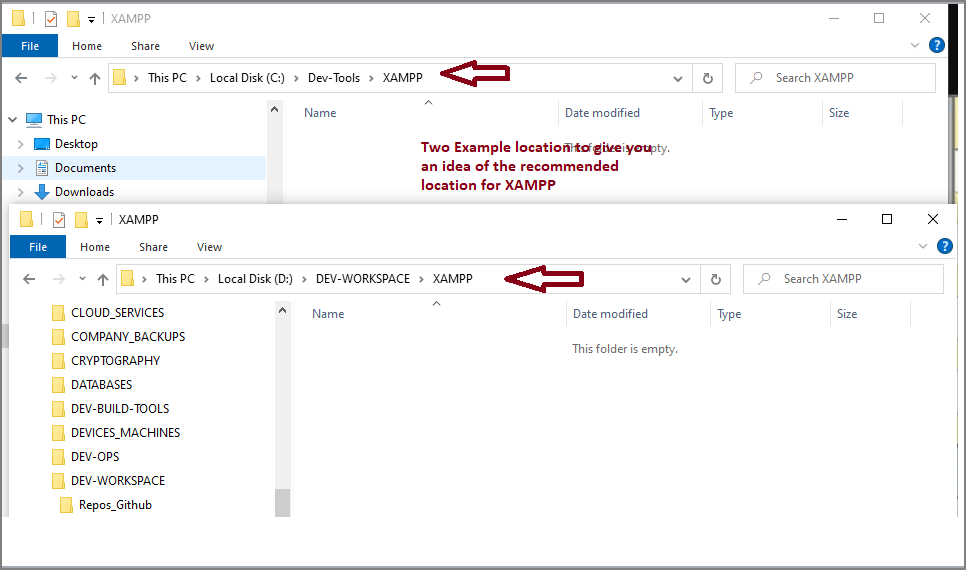
3.2. Plan location of XAMPP binaries (Root)
Before running the installer. Carefully plan/choose the location for XAMPP binaries or root folders. Make a note of the following while choosing the location –
Your Website and Project files would reside inside the XAMPP folder. Best to choose data drive or partition with Admin access. Prefer not to install in ‘Program Files’ due to UAC and Windows security restrictions may potentially cause problems.

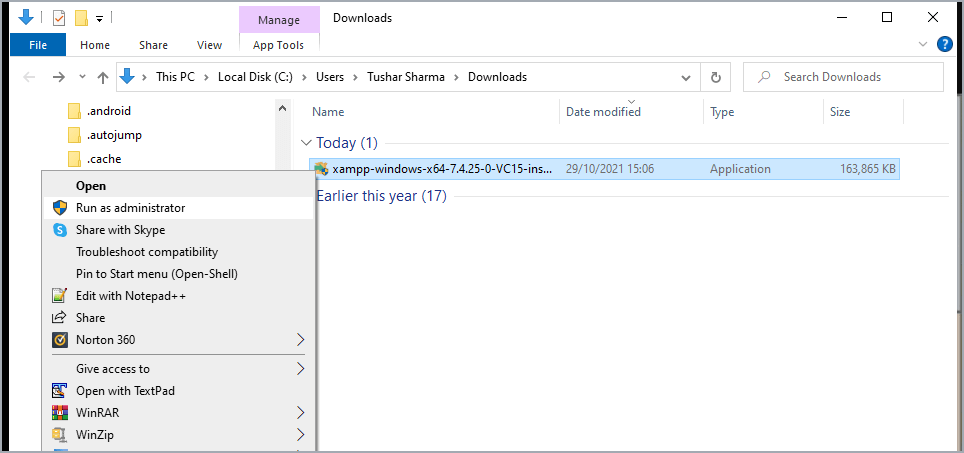
3.3. Run Installer and complete installation
Run the XAMPP installer as ‘Administrator’ and complete the installation process.


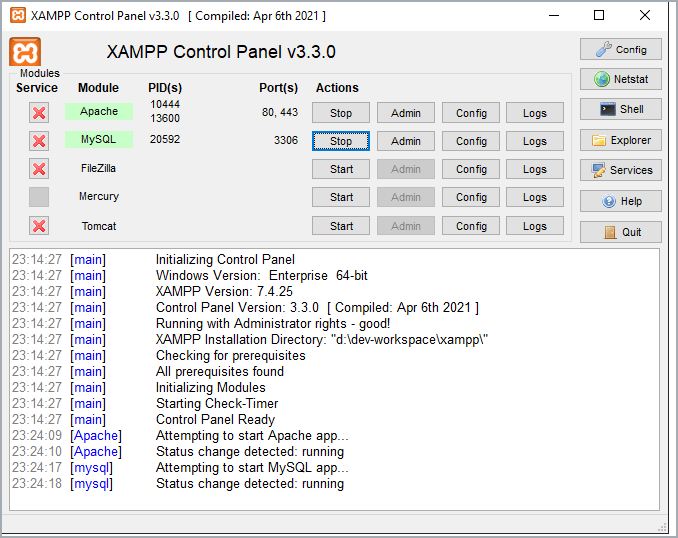
3.4. Start Apache and MySQL Servers
Launch the XAMPP Control Panel as ‘Administrator’ and start the Apache Server as well as MySQL Server. You can do that by clicking on “Start” next to the modules.

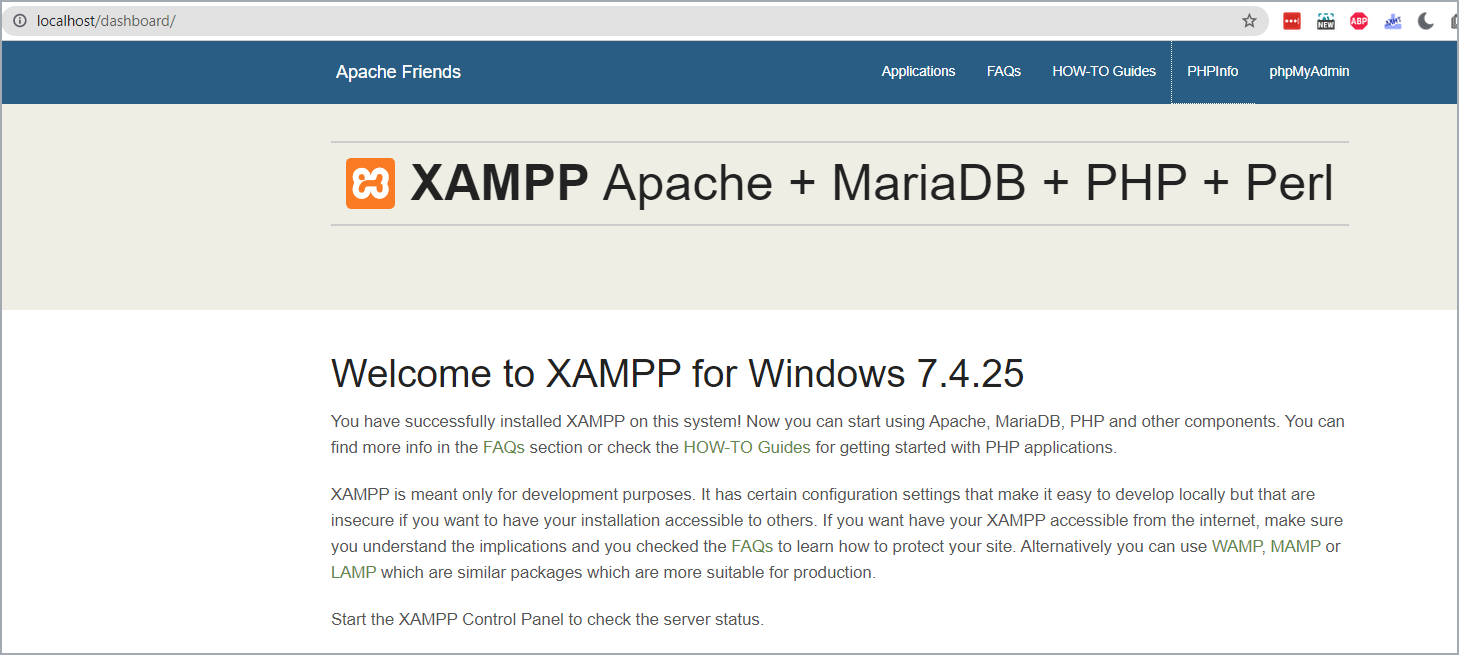
3.5. Verify your server installations
Launch browser and type in localhost to check if Apache service is running fine. If you see the above webpage loading properly that means our installation has been successful.

4. Creating Database using XAMPP
Next, let us create a database for WordPress using PHPMyAdmin.
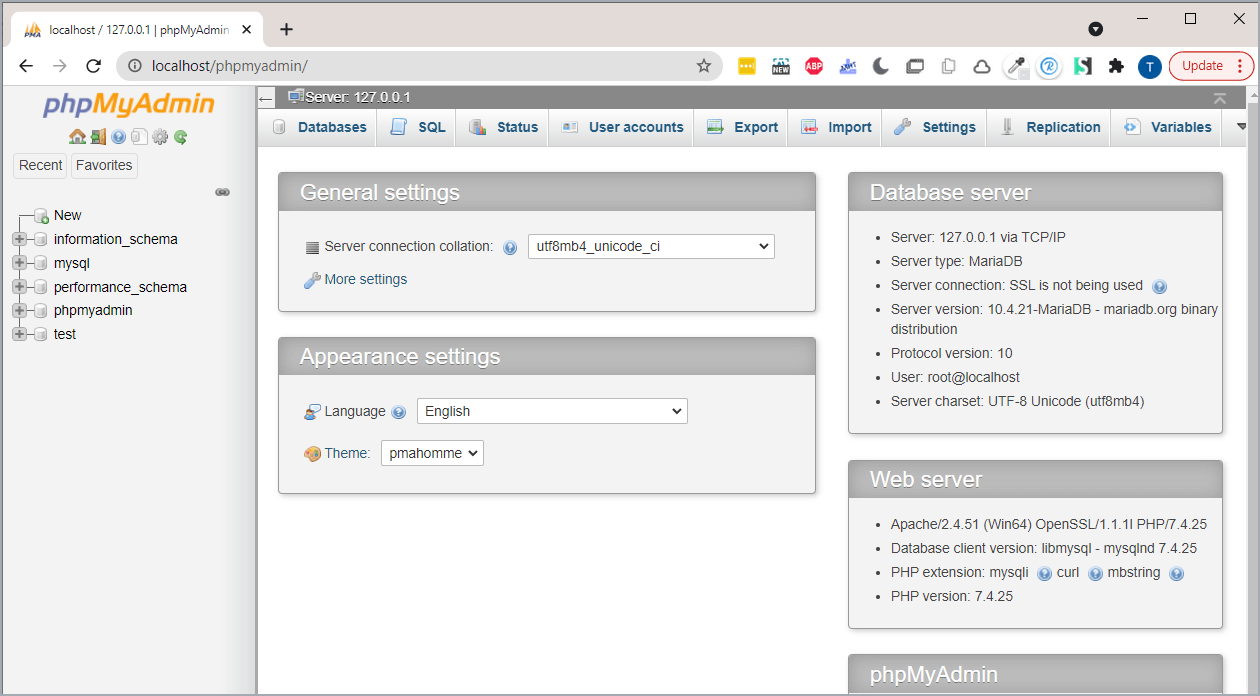
4.1. Launch PHPMyAdmin
Open a new browser tab and type the following URL to launch PHPMyAdmin, http://localhost/phpmyadmin/ . This should launch the following web interface

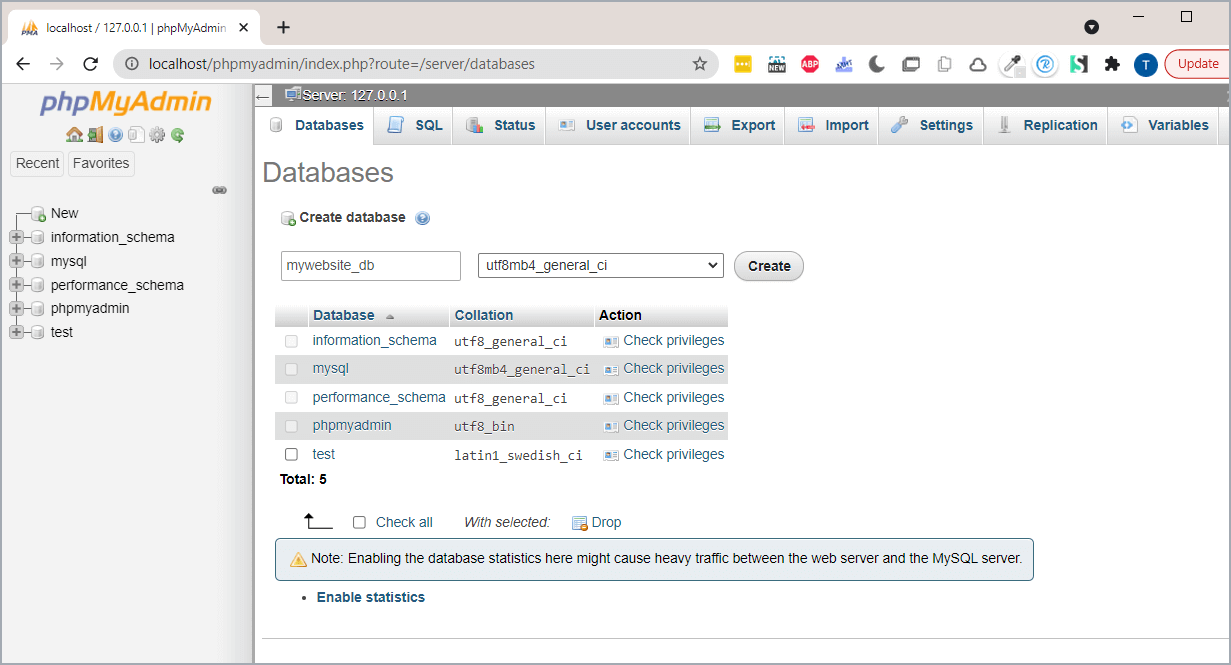
4.2. Create Database for your WordPress
Navigate to the Databases tab at the top of the page of phpMyAdmin. Provide a name for your new database. After that, click on the ‘Create’ button to continue.

This step concludes your database creation for the WordPress website. Now let us move on to install and configure the WordPress site.
5. Installing WordPress Locally with XAMPP
5.1. Download the latest version of WordPress
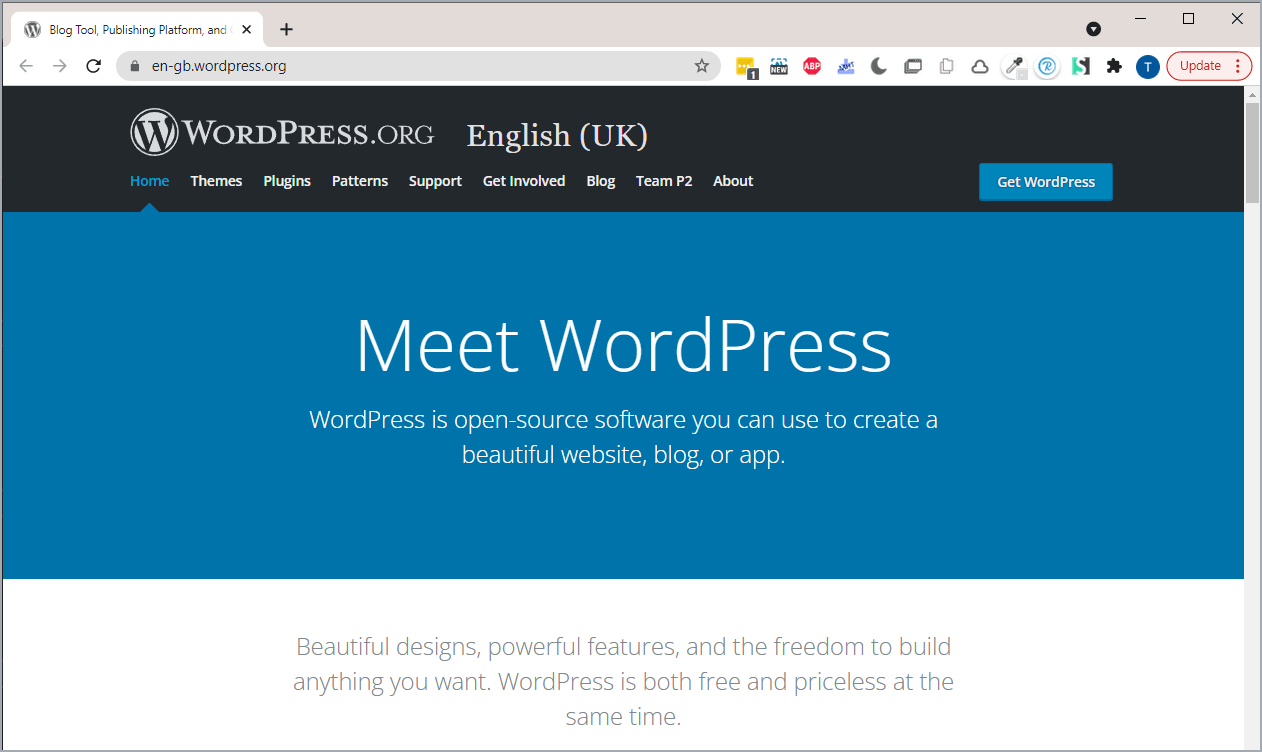
First, you need to go to wordpress.org and download the latest version of WordPress. Download the zip folder on your local system.

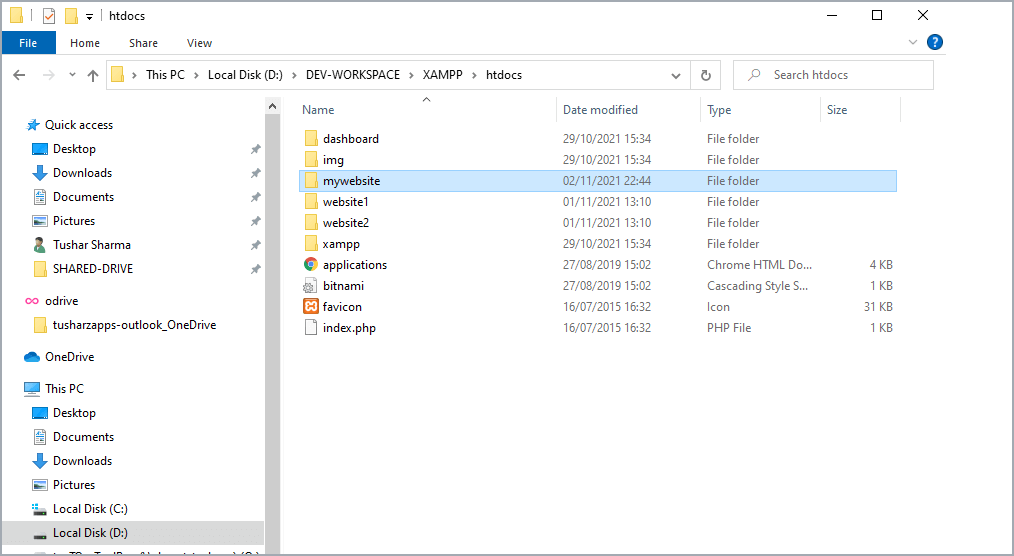
5.2. Create Project Folder to Host WordPress
Create your project folder inside XAMPP’s htdocs to host your WordPress files. Proceed with creating a new folder into XAMPP’s htdocs folder for your site and provide a name of your choice. For example, I am going to name it as ‘mywebsite’.

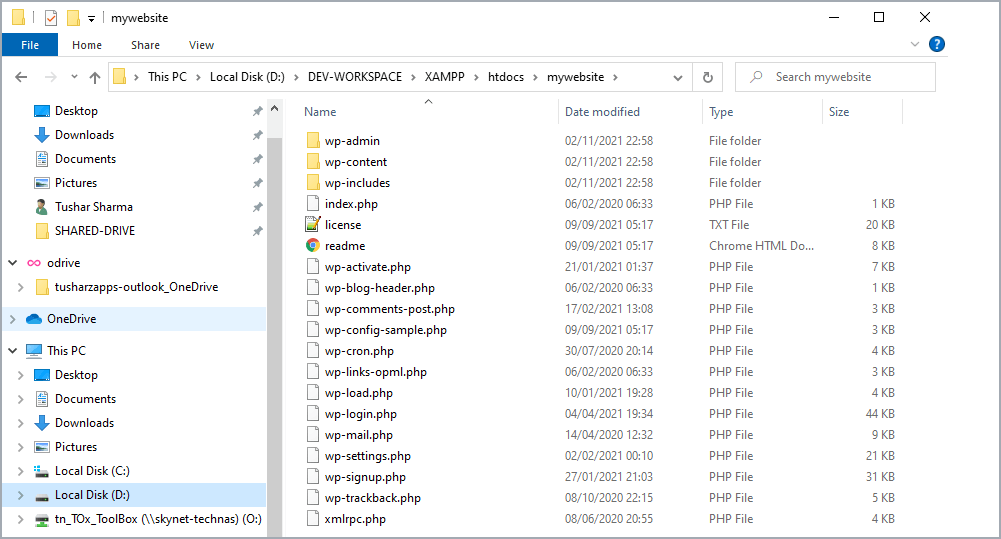
5.3. Extract WordPress Files into Project Folder
To install WordPress locally, you need to extract WordPress files (unzip) into the newly created folder inside ‘htdocs’, in our case we will copy it into ‘mywebsite’ folder which we created.

5.4. Start WordPress Setup & Install Process
Launch your web browser and enter the following URL in your browser –
http://localhost/[Name of Your project folder created inside htdocs]
In my case, this is – http://localhost/mywebsite/
This will load the WordPress installation wizard and you’ll be asked to select a language. After selecting a language, click on the ‘Continue’ button.


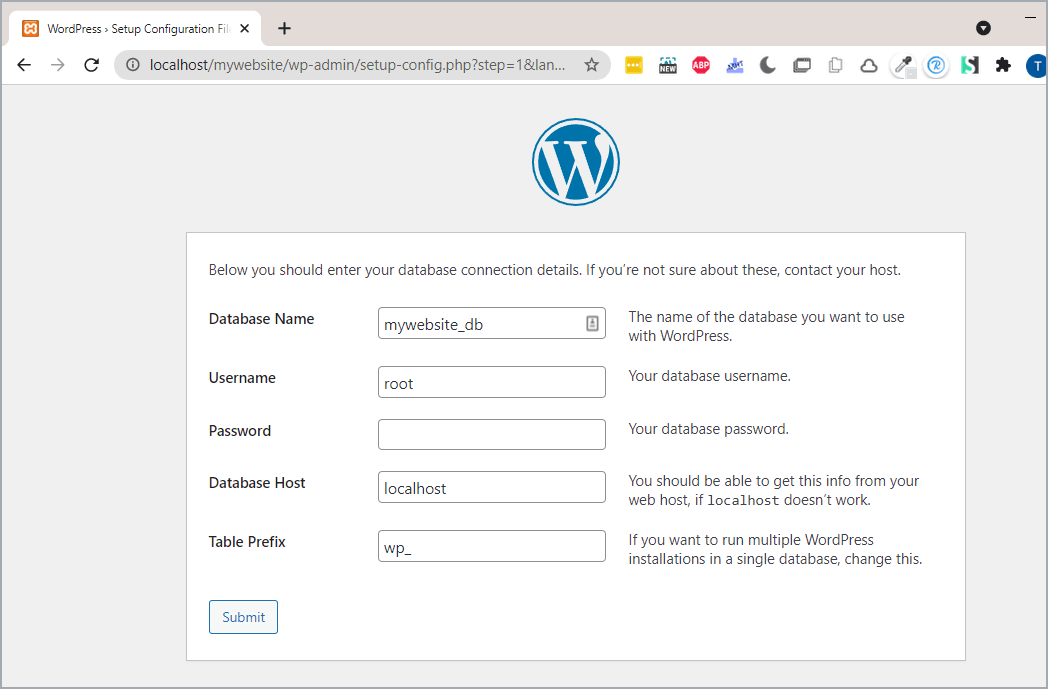
5.5. Enter database details
When you get to the database details, enter the following:
- Database Name = Name of the database you created in PHPMyAdmin
- Username = “root”
- Password = leave blank

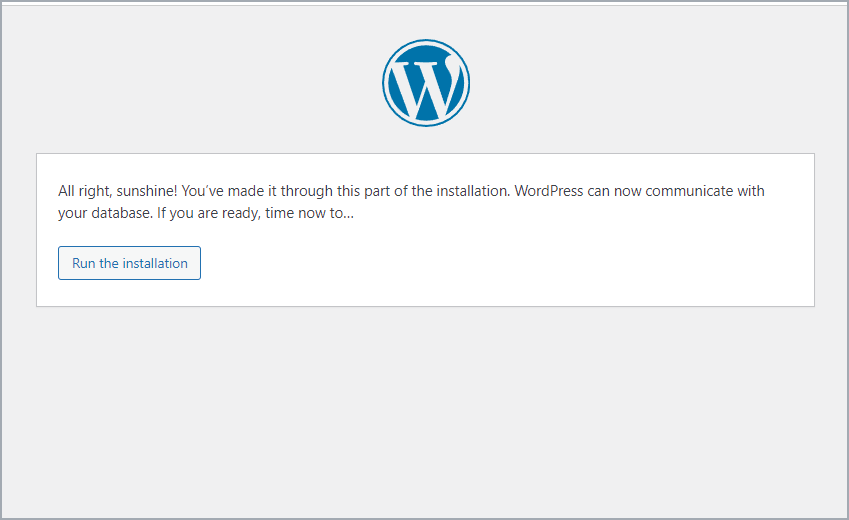
5.6. Confirm the installation start
Once everything is done, click on “Submit” and you’ll be taken to the WordPress installation page. Just run the installation

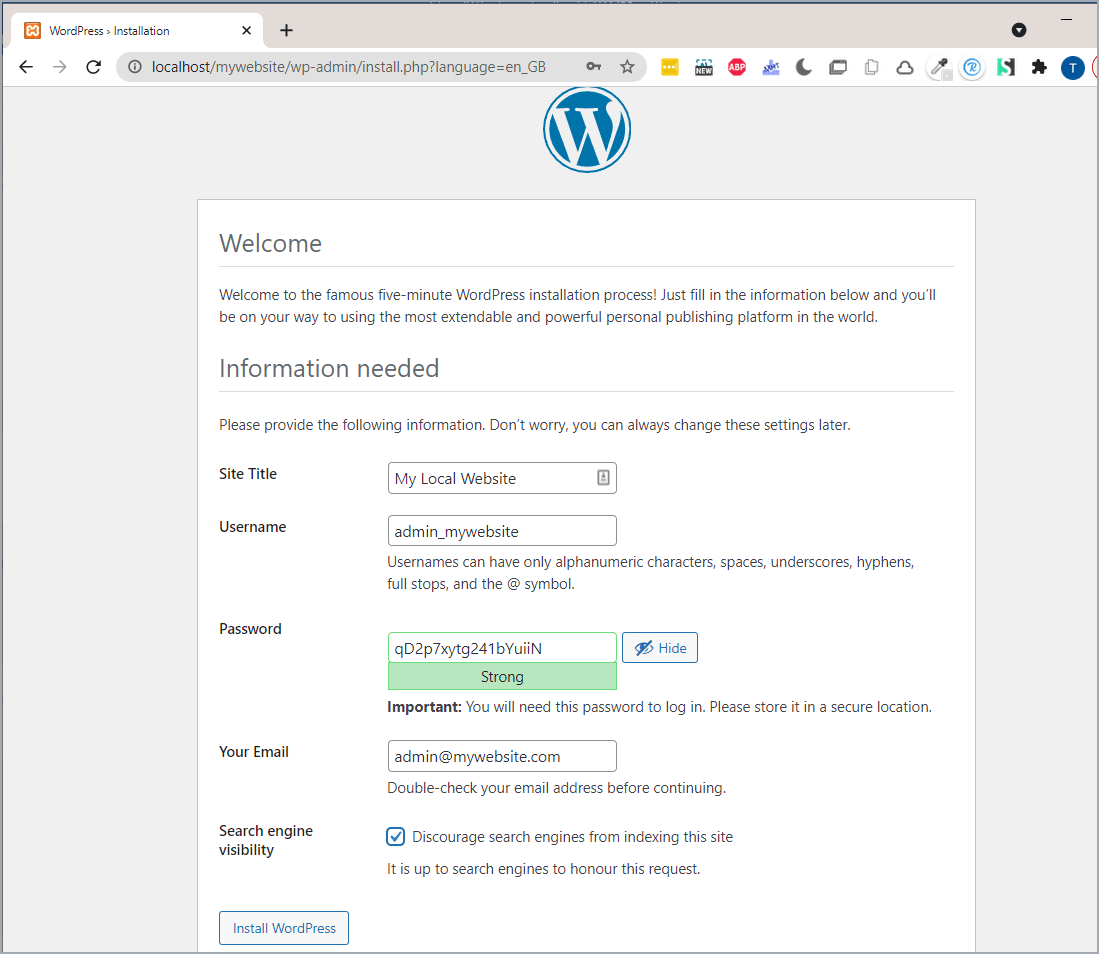
5.7. Setup your Site and Admin Credentials
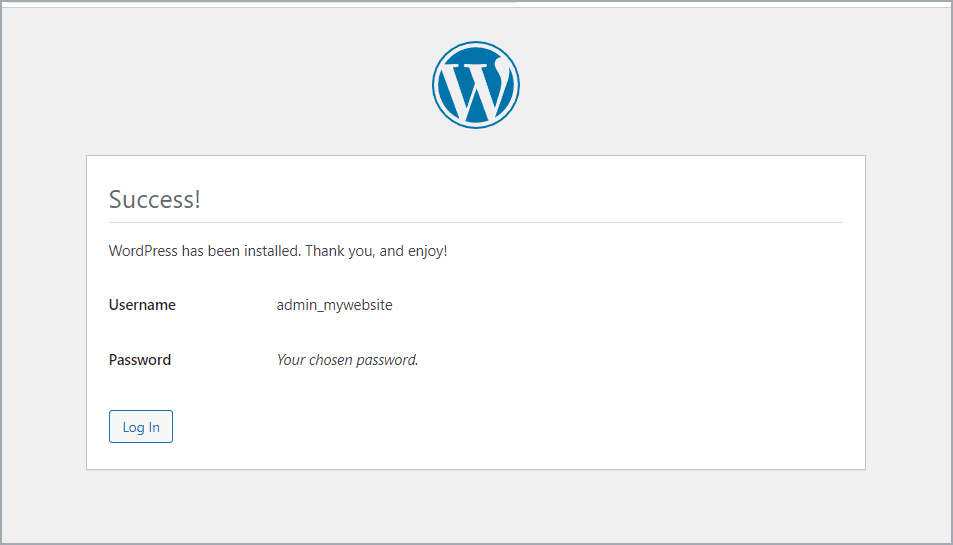
Continue onto the next screen and fill in all of the details — including your admin username and password — and complete the installation.

Once the installation is complete, you should see the following screen.

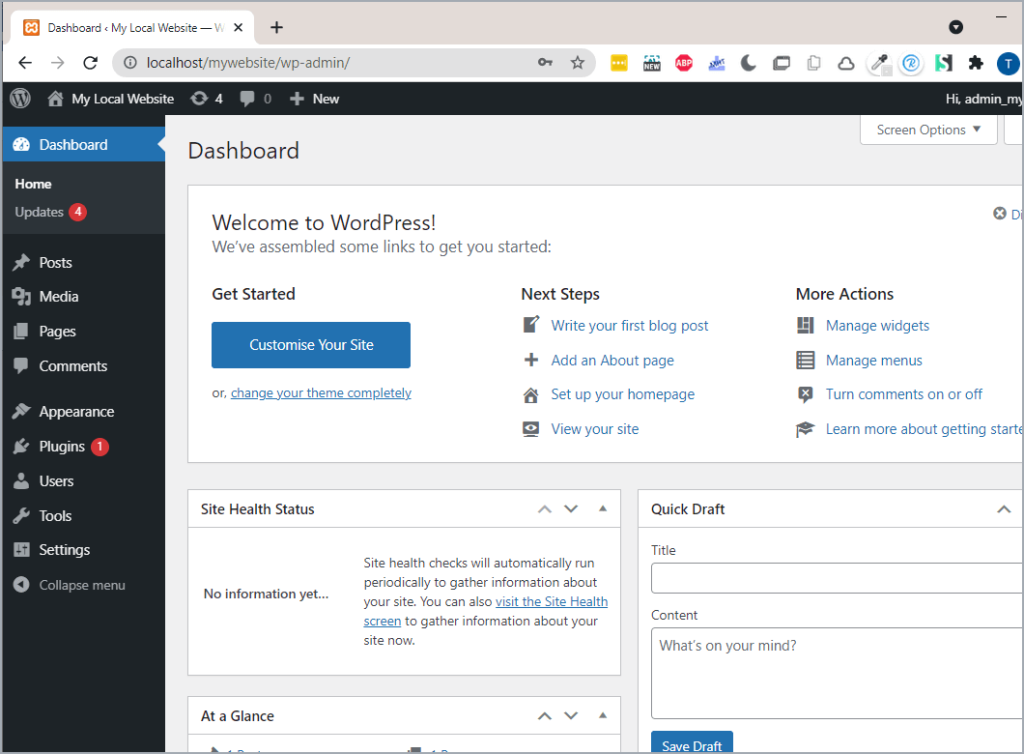
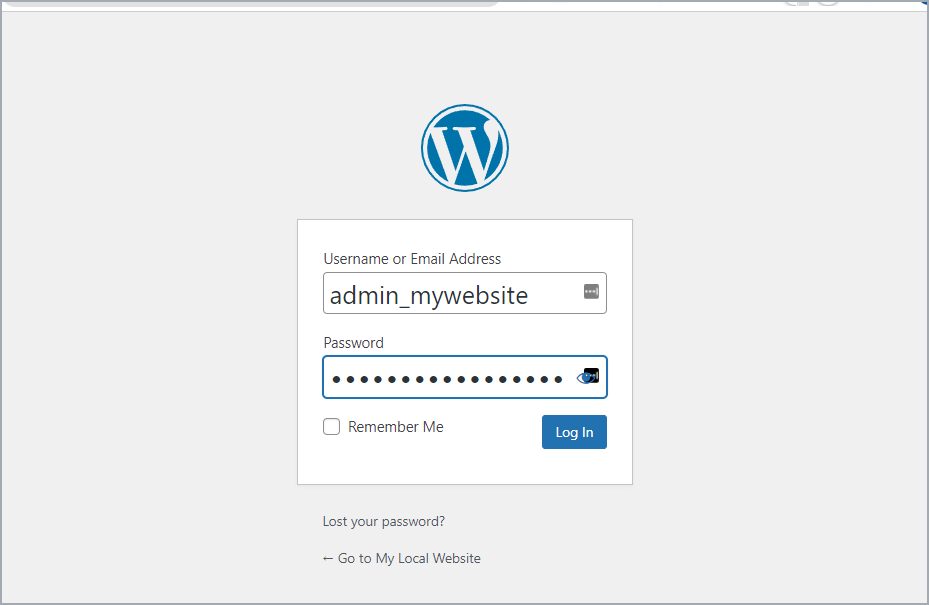
5.8. Log on to your WordPress Dashboard
Next, enter your credentials and login to your WordPress site dashboard.

Finally, you’ll reach your admin dashboard. It looks like this: