How To Install XAMPP on Windows

Install XAMPP Server (Apache, PHP, MariaDB, Perl) locally on windows

What is XAMPP

The full form of XAMPP stands for Cross-platform, Apache, MariaDB (MySQL), PHP and Perl. It is one of the simplest and lightweight local servers or more precisely a package of bundled open-source software containing standard web development tools to develop/test your website locally.

It is available as open-source software created by Apache Friends and is very common among the developers of content management systems like Joomla or WordPress. XAMPP provides an ideal, development and test environment for projects based on Apache, Perl, MySQL database, and PHP through the system of the host itself.

Advantages of XAMPP

  • It is free and easy to use and easily available for Windows, Linux, and Mac OS.
  • It is a beginner’s friendly solution package for full-stack web development.
  • It is an open-source software package that gives an easy installation experience.
  • It is very simple and lightweight to create a setup for development, testing, and deployment.

XAMPP Components

Core Modules

  • Apache
  • MariaDB
  • PHP
  • Perl

Additional Modules

  • PHPMyAdmin
  • FileZilla FTP
  • Mercury mail.
  • JSP Tomcat

Installing XAMPP on Windows

1
Download the XAMPP for windows

blank

Download the latest XAMPP installer for windows from Apache Friends Website

2
Plan/Choose XAMPP location

blank

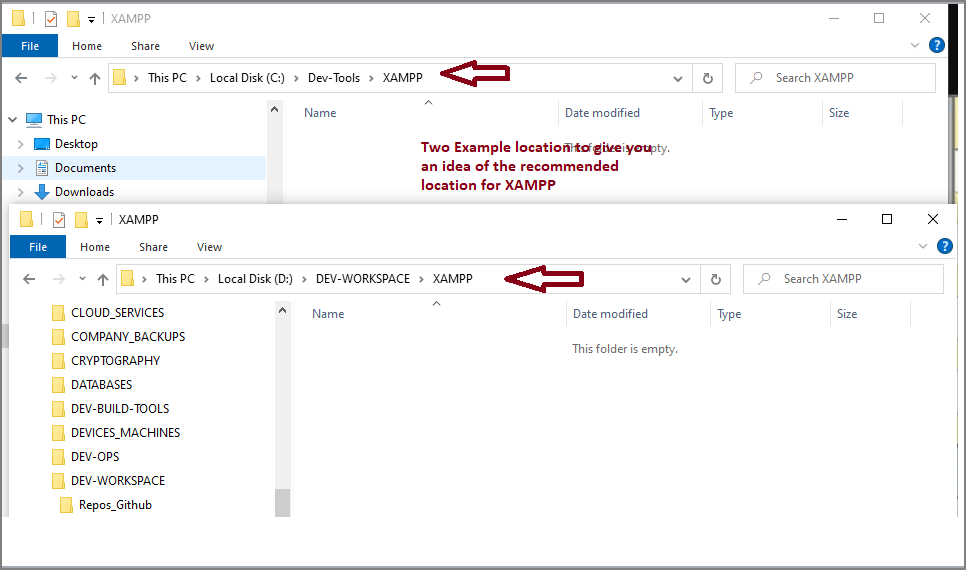
Before running the installer. Carefully plan/choose the location for XAMPP binaries or root folder. Make a note of the following while choosing the location :

  • Your Website and Project files would reside inside the XAMPP folder. Best to choose data drive or partition with Admin access.
  • Prefer not to install in ‘Program Files’ due to UAC and Windows security restrictions may potentially cause problems.

3
Run the XAMPP Installer

blank

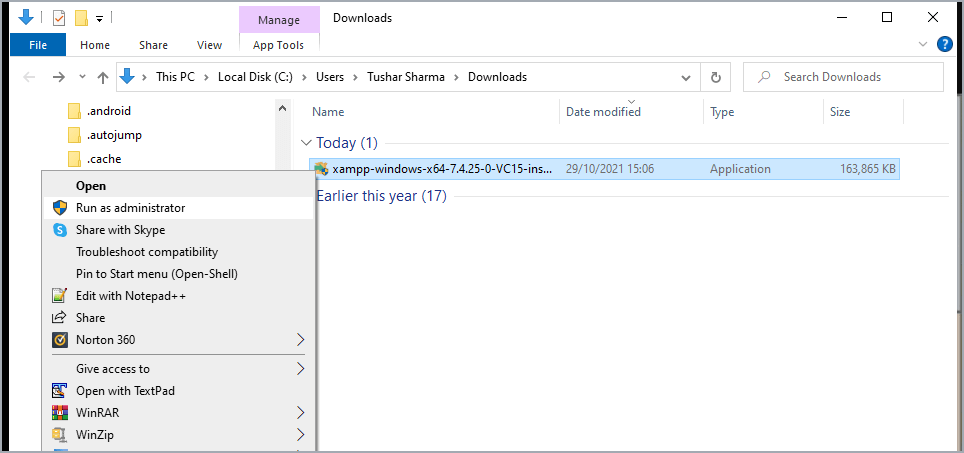
Run the XAMPP installer as ‘Admin’ (Run As Admin). This should take care of any potential privilege or access-related issues. Complete the installation process.
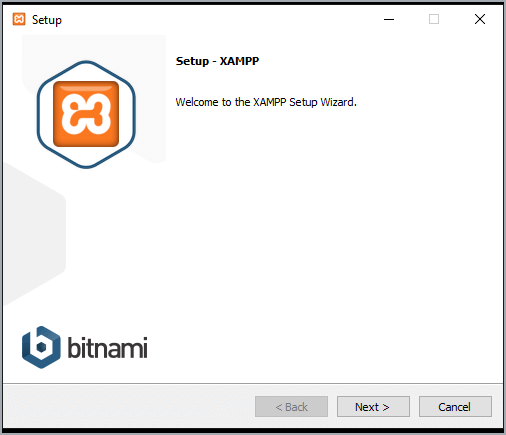
4
Continue with the Installer Prompts

blank
blank
blank
blank
blank
blank
blank

5
Launch XAMPP Panel & Start Apache

blank

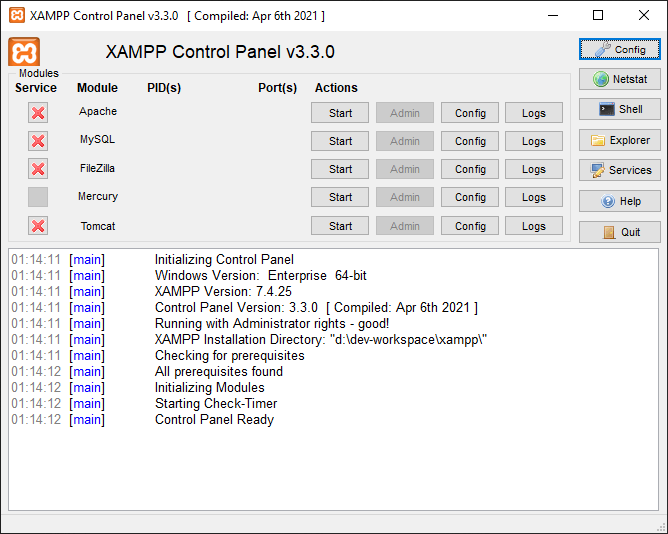
Launch your XAMPP Control Panel, you should see the above control panel.

Now press the ‘Start’ button against the Apache on the panel for starting your Apache Server service.

blank

6
Verify your XAMPP installation

blank

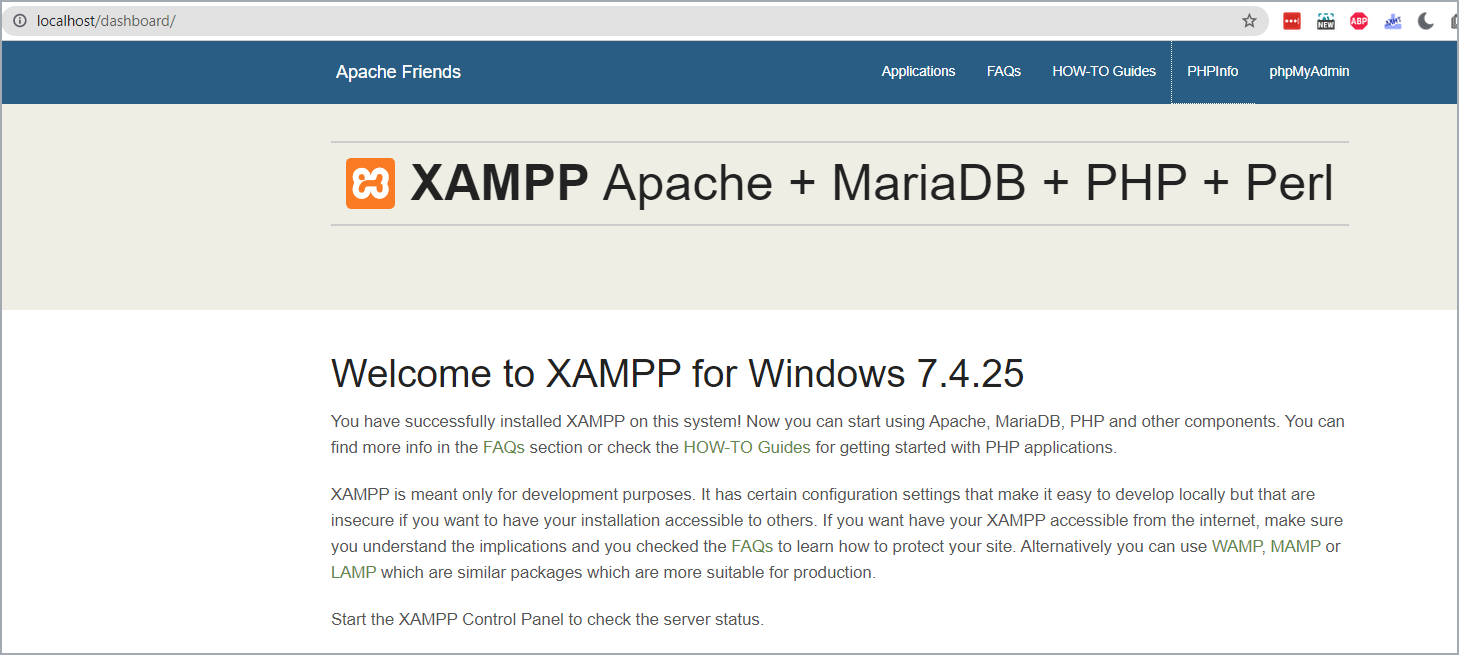
Launch your browser and type in localhost into the URL to check if Apache Server service is running fine. You should see the above page which confirms your XAMPP installation has been successful.

You can also verify the full PHP information by typing the URL – localhost/dashboard/phpinfo.php

blank

Next Steps

Since you have succesfully installed the XAMPP application. Most probably you might also want to install WordPress on top of your XAMPP installation. If that is the case, please checkout next article: How To Install WordPress Locally using XAMPP.

In case you are looking for advanced configuration for XAMPP checkout these articles:

Tushar Sharma
Tushar Sharmahttps://www.automationdojos.com
Hi! This is Tushar, the author of 'Automation Dojos'. A passionate IT professional with a big appetite for learning, I enjoy technical content creation and curation. Hope you are having a good time! Don't forget to subscribe and stay in touch. Wishing you happy learning!

LEAVE A REPLY

Please enter your comment!
Please enter your name here

This site uses Akismet to reduce spam. Learn how your comment data is processed.

Recent Posts

RELATED POSTS

How To Set XAMPP To Run As-Admin By Default

Why run XAMPP as-admin The XAMPP is recommended to be executed as-admin as it requires running a couple of system services such as Apache, MySQL...

Why WordPress Installation Ends Up with latest version?

1. Why You Need Older WordPress Versions Of course, running the latest version of WordPress is the best option for any website, but at times,...

How To Install WordPress Locally using XAMPP

1. Introduction Installing WordPress on your computer helps you try out WordPress, test themes and plugins, and learn WordPress development.  It lets you operate a...

How To Configure Virtual Hosts in XAMPP

Apache has made it very easy to have multiple websites or web applications running on the same physical server, and access each using a...

Â

RECENT 'HOW-TO'

How To Install Oh-My-Posh On Windows PowerShell

Oh-My-Posh is a powerful custom prompt engine for any shell that has the ability to adjust the prompt string with a function or variable. It does not...

MORE ON CODEX

FEATURED PROJECTS

SEPA Bulk File Generator and Validator

ADjo LABS PROJECT: SEPA Bulk File Generator and Validator. Supported File Types PAIN008, PAIN001, PACS003 and PACS008. Tested for supporting PAIN.008.001.001 and PAIN.008.001.002 (version 1&2). The XML...

MORE IN THIS CATEGORY

How To Concatenate Strings in Java

Introduction In Java, a String is a sequence of characters. There are often programming situations where you will need to concatenate Strings. There are several...

How To Change Font for Eclipse Package Explorer

This article shows how to change the Package Explorer text size and style. The font used for tree and table views can now be customized...

How To Do API Testing with JMeter

Introduction Application Programming Interface is a very popular term among developers. It is simply a request provider that responds to your request. In other words,...

How To Add SSH Private Keys to Eclipse

One of the common use cases for accessing Git repositories on Github is authentication via SSH keys. This offers a secure way of working...

CHECKOUT TUTORIALS

Java Tutorial #6 – Jump Statements

Introduction The break statement is used to stop further execution. It can be used either in a loop or within a switch statement. Break Statement The break...
- Advertisement -spot_img